Devlog #3 - How we implemented traditional mediums into digital game design
As students of Kent State University, we have access to a space in our Design Innovation Reactor (a space dedicated solely to making cool, new things, with resources such as laser cutters, 3D printers, woodshops, and electronics labs). As part of that, we used the spaces' Blank Lab to handle our photography needs, renting out lighting equipment from the Digital Media Production rental spaces to set everything up.
For current KSU students/alumni, I can't recommend the space enough. You can find more info about it here: https://www.kent.edu/designinnovation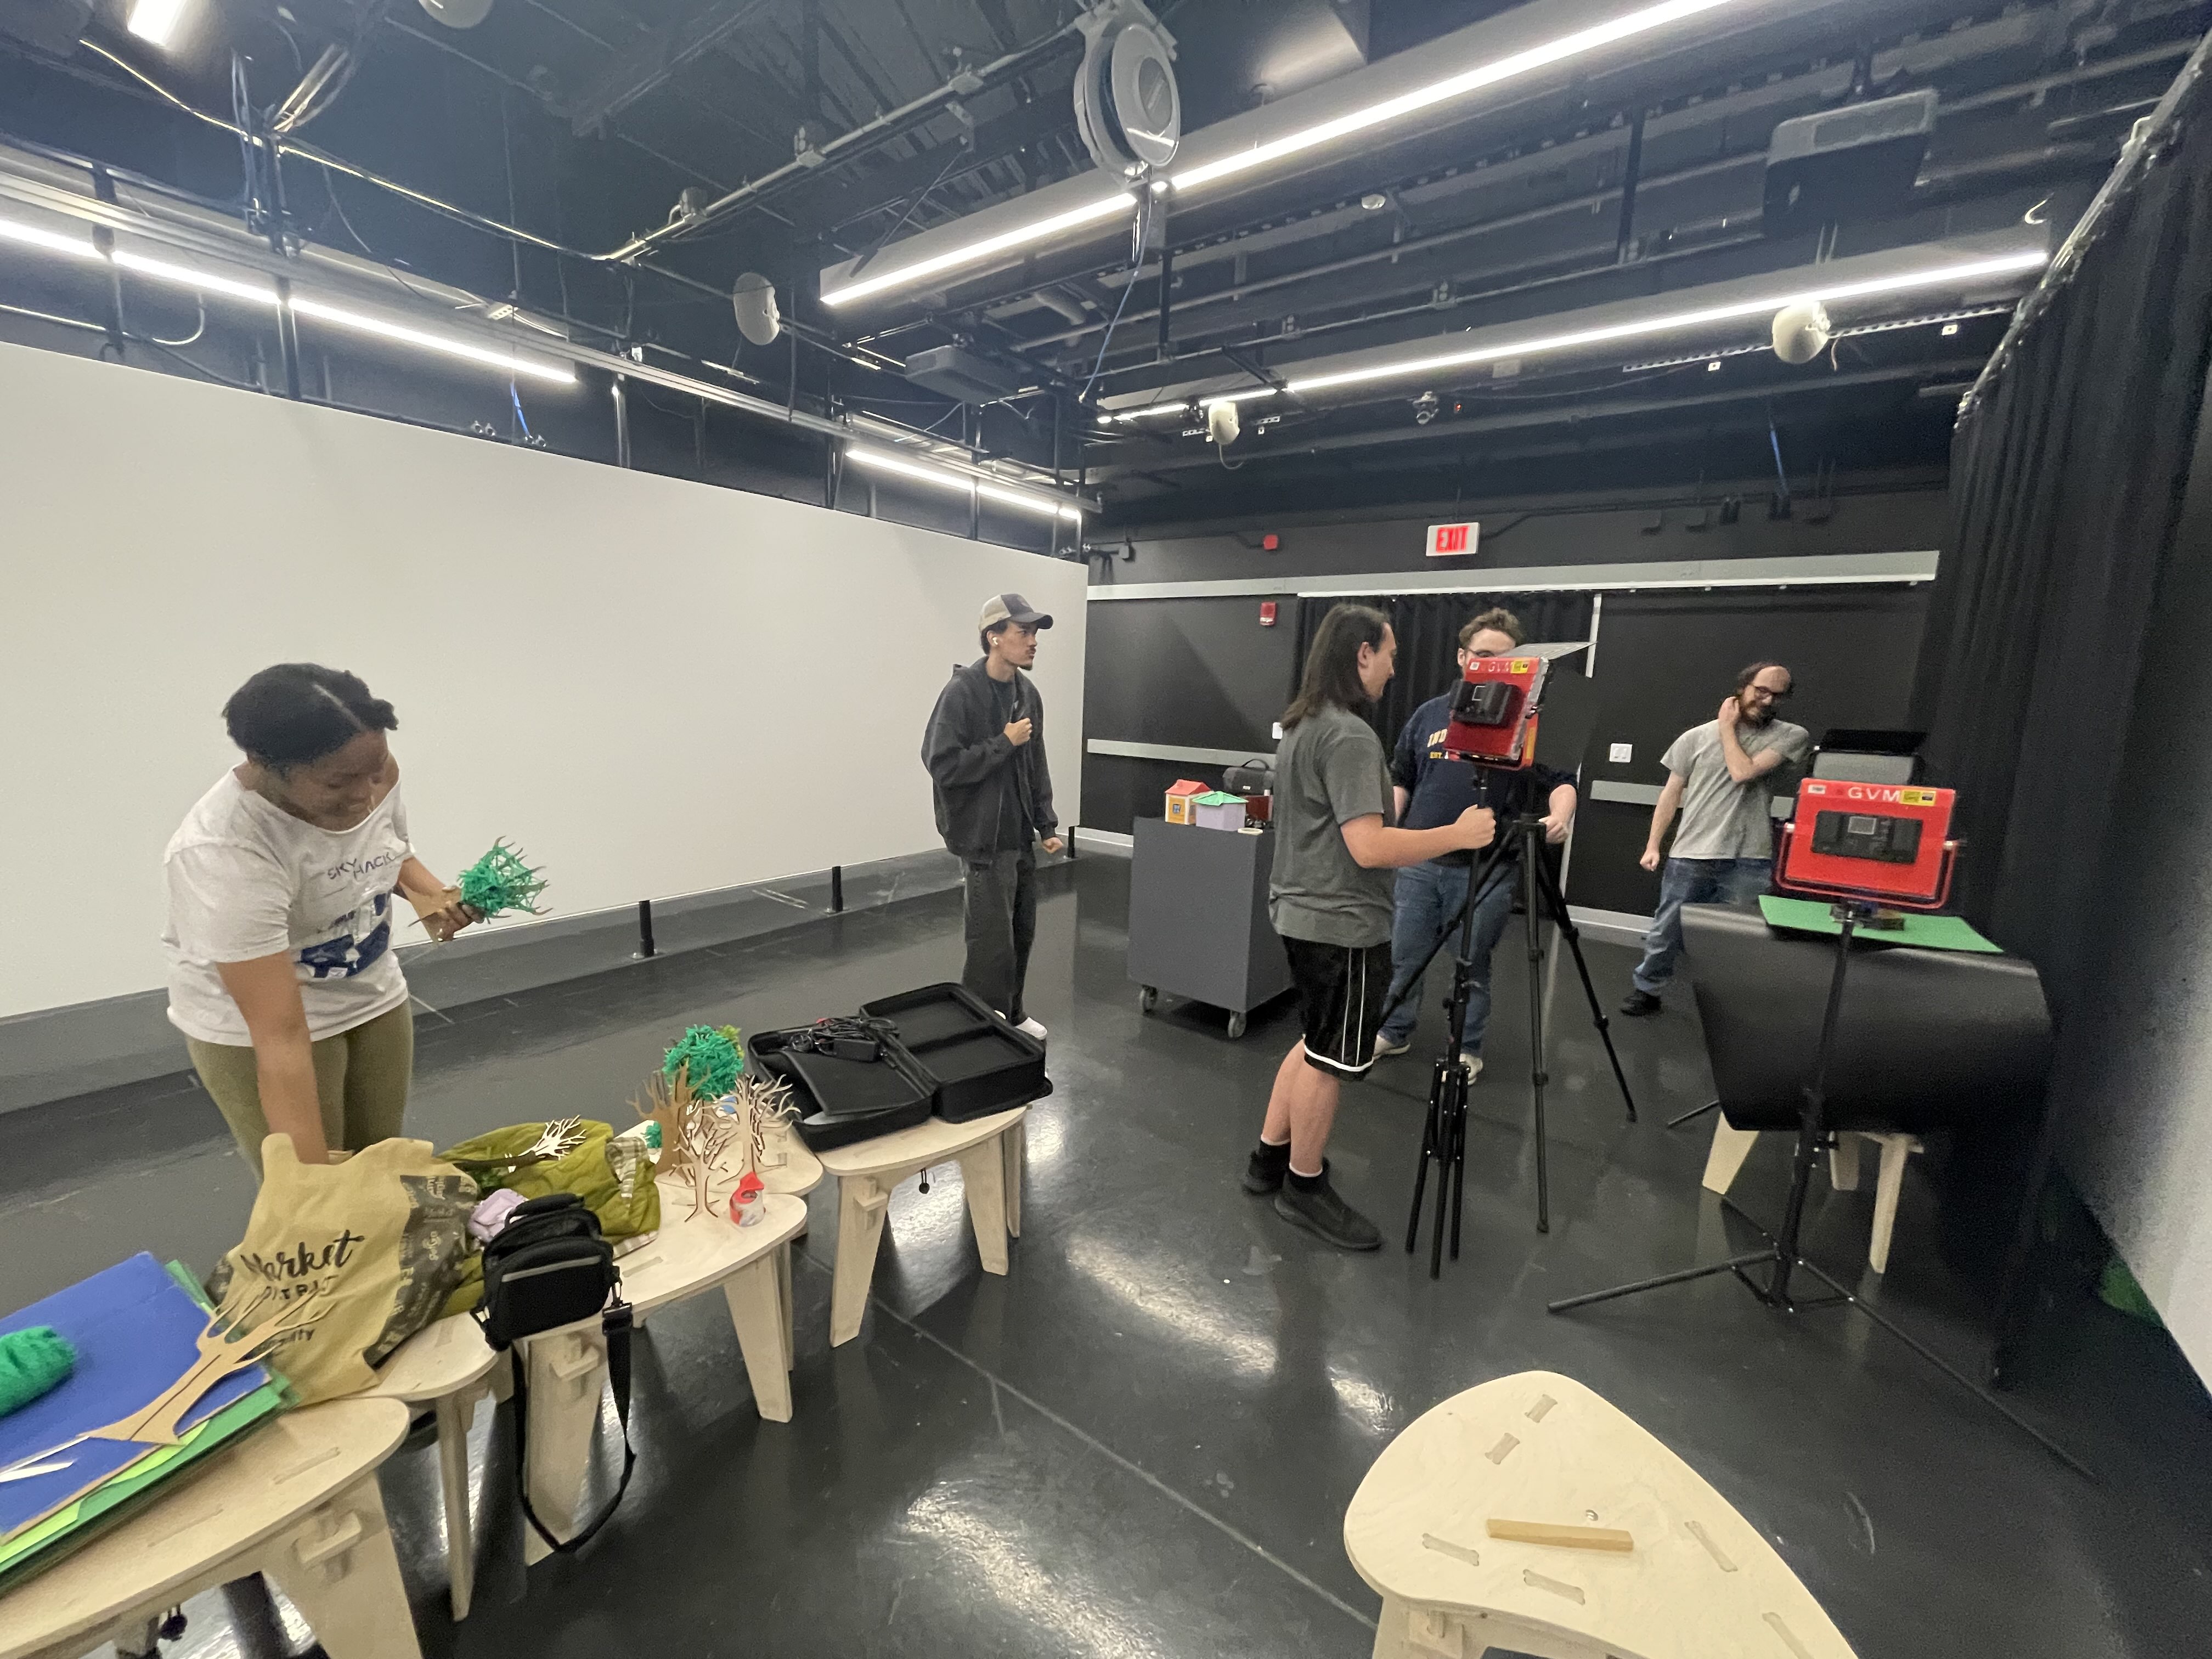
In this image, team members Jada Woods, Jalen Rankin, Logan Jackson, Dawson Turska, and Joseph Berlin are setting up the scene to begin model photography.
As part of our workflow, while a LOT of our assets were developed in Blender, we wanted to apply a mixed-media approach and try making assets with real-life arts and crafts. To do this, we all banded together, glued, painted, and lasercut our props, and prepared to take photos of them to bring into the Unity engine.
While we were brainstorming this approach, though, one thing that we wanted to explore was dynamic lighting (by applying normal maps to our sprites, giving 2D sprites a little bit more of a 3D feel when using in-engine lighting). While fairly simple to do for 3D models in blender (you can simply render out a normal map pass of your models!), it took some thinking for how to do it for real-life models.
At this point in time, purely by coincidence, I found a reel on Instagram by rolandseer (https://www.instagram.com/reel/DGJZrT4PxiP/?igsh=MTBwdDFzcjJoNjNqcQ==) that embodies EXACTLY what we needed!
To sum it up, by hitting your objects with the 3 colors of light in a normal map (red, green, blue) in the correct angles, and then take photos of your model.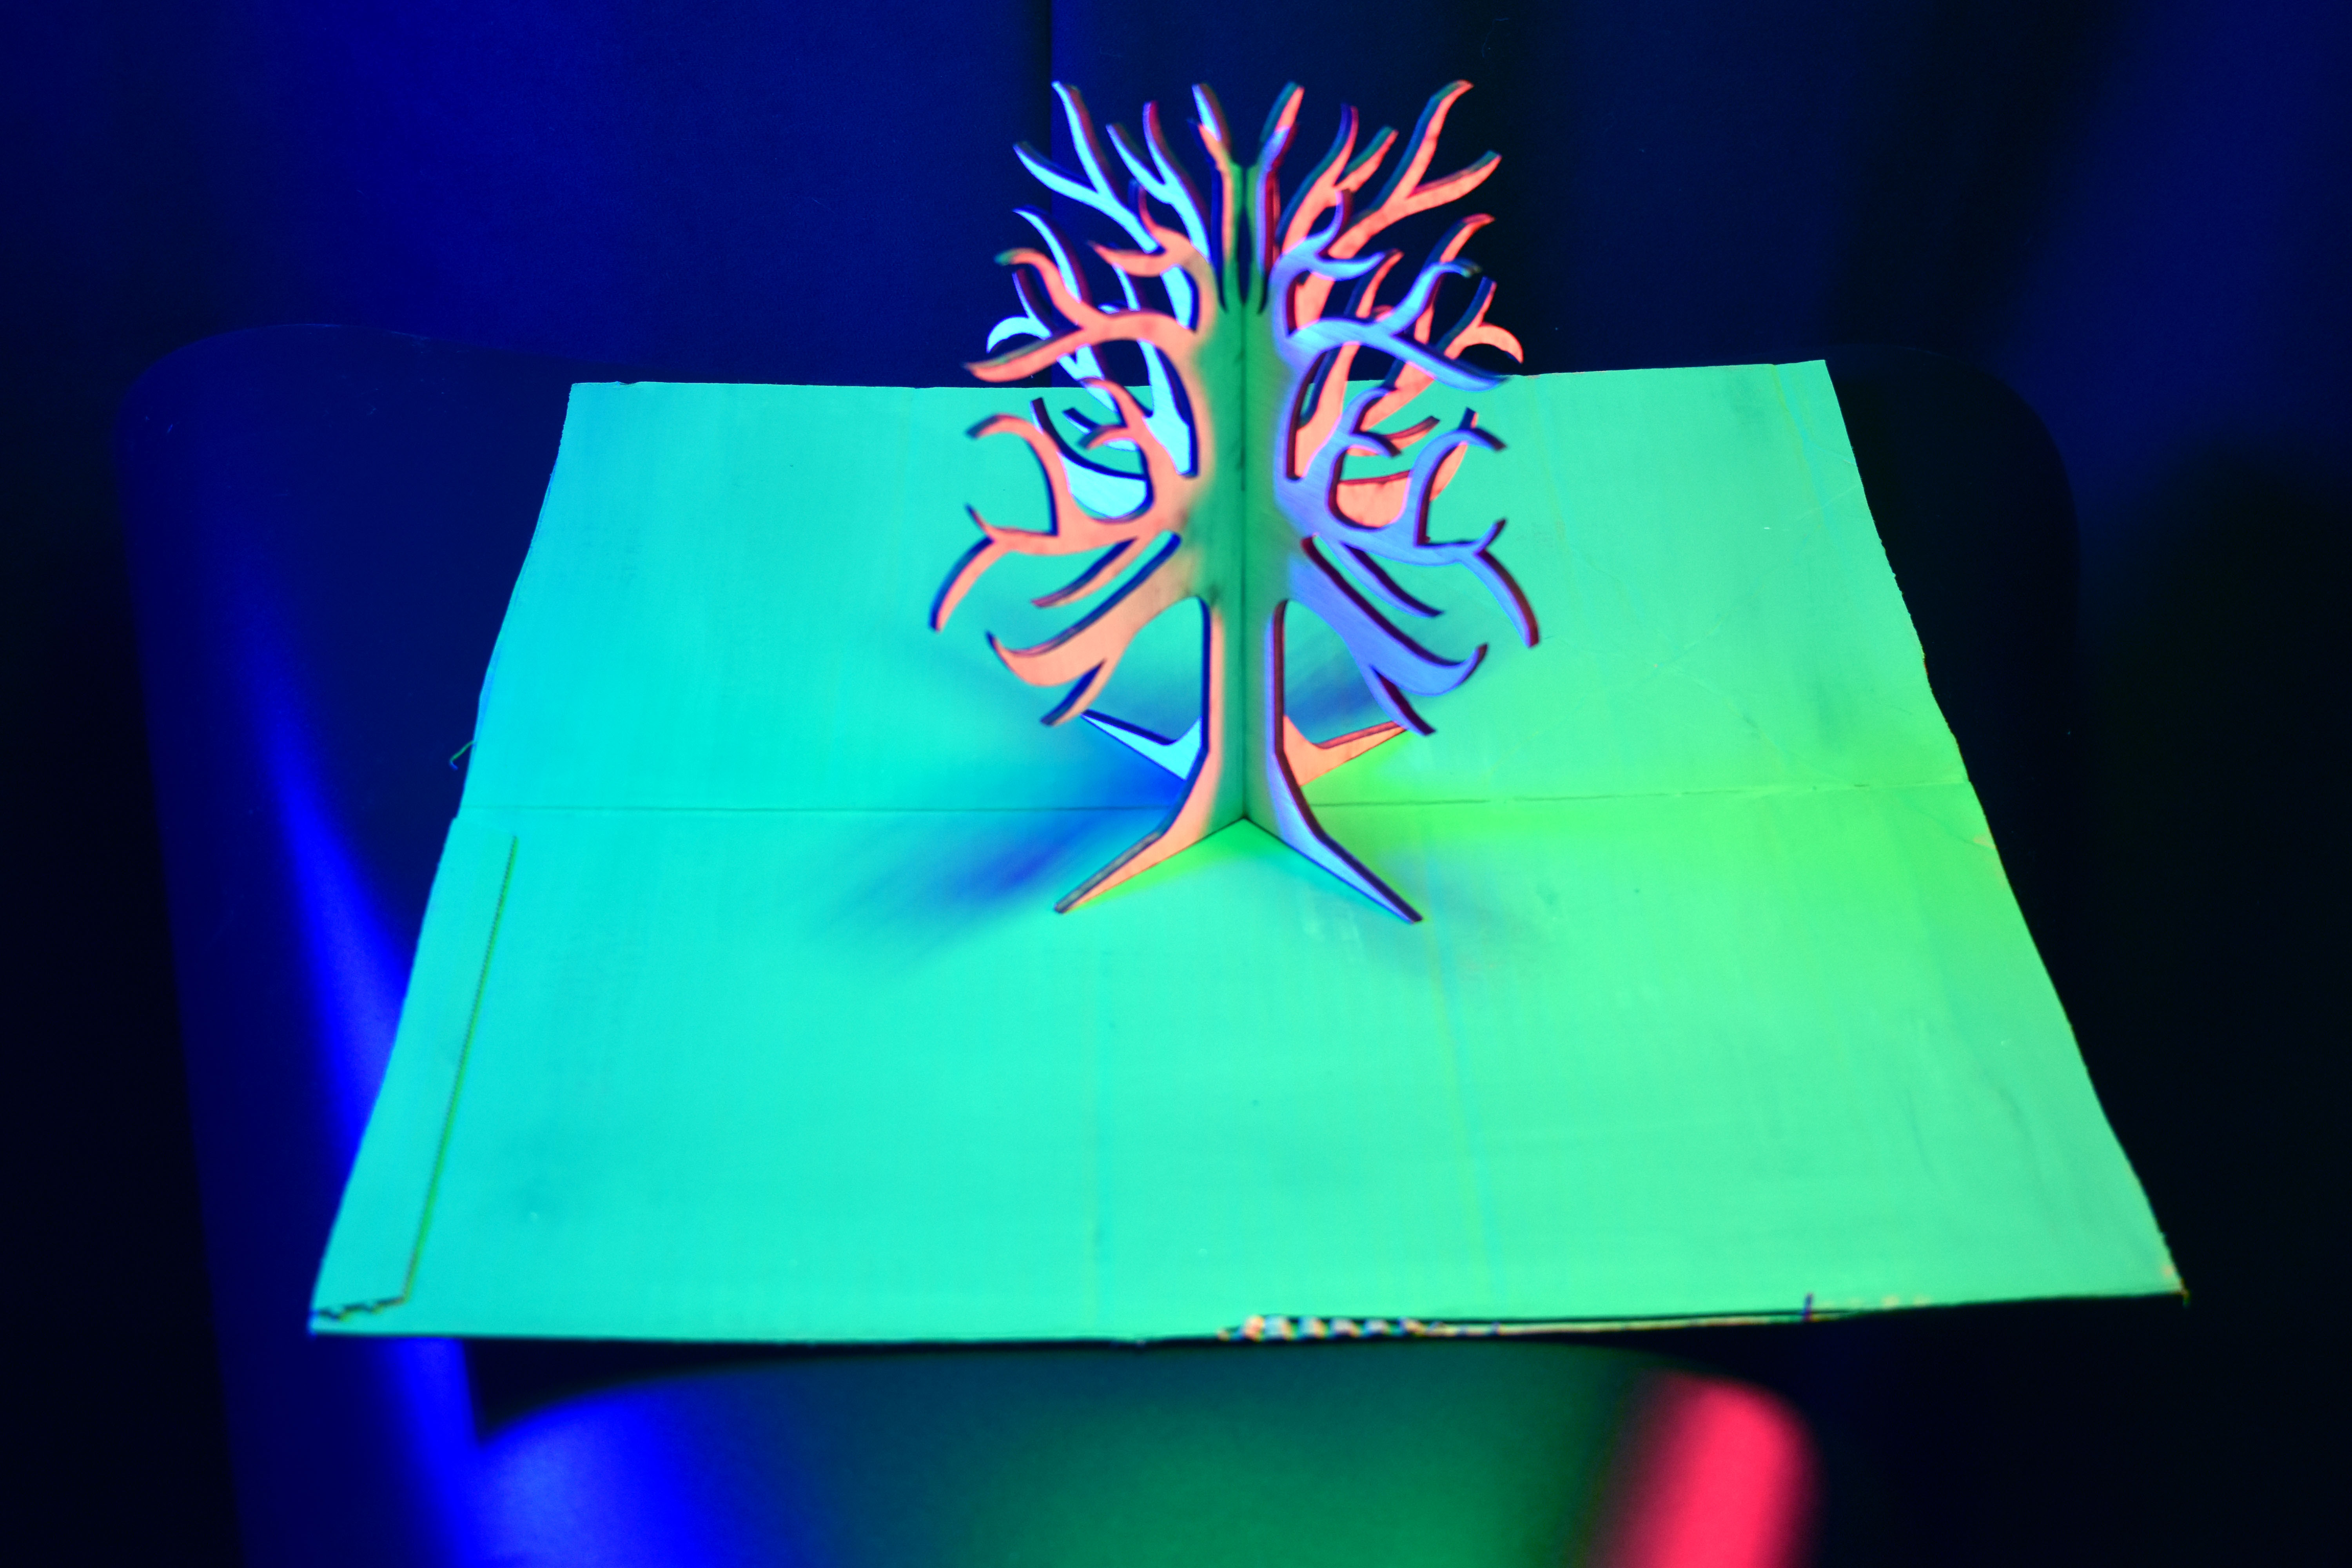
By hitting our models with the lighting necessary for simulating normal maps, we were able to create normal maps for real-life models made of cardboard, paint, hot glue, and wood. The model shown above was made by team member Jada Woods, utilizing a laser cutter and slotting together two pieces of wood to make a 3D shaped tree.
Notably, doing this process also gives off an incredible spectrum of light. If you ever have the opportunity to try this, I would wholeheartedly recommend it, as not only does it solve the problem of normal maps for photos, but it is just a unique experience to behold.
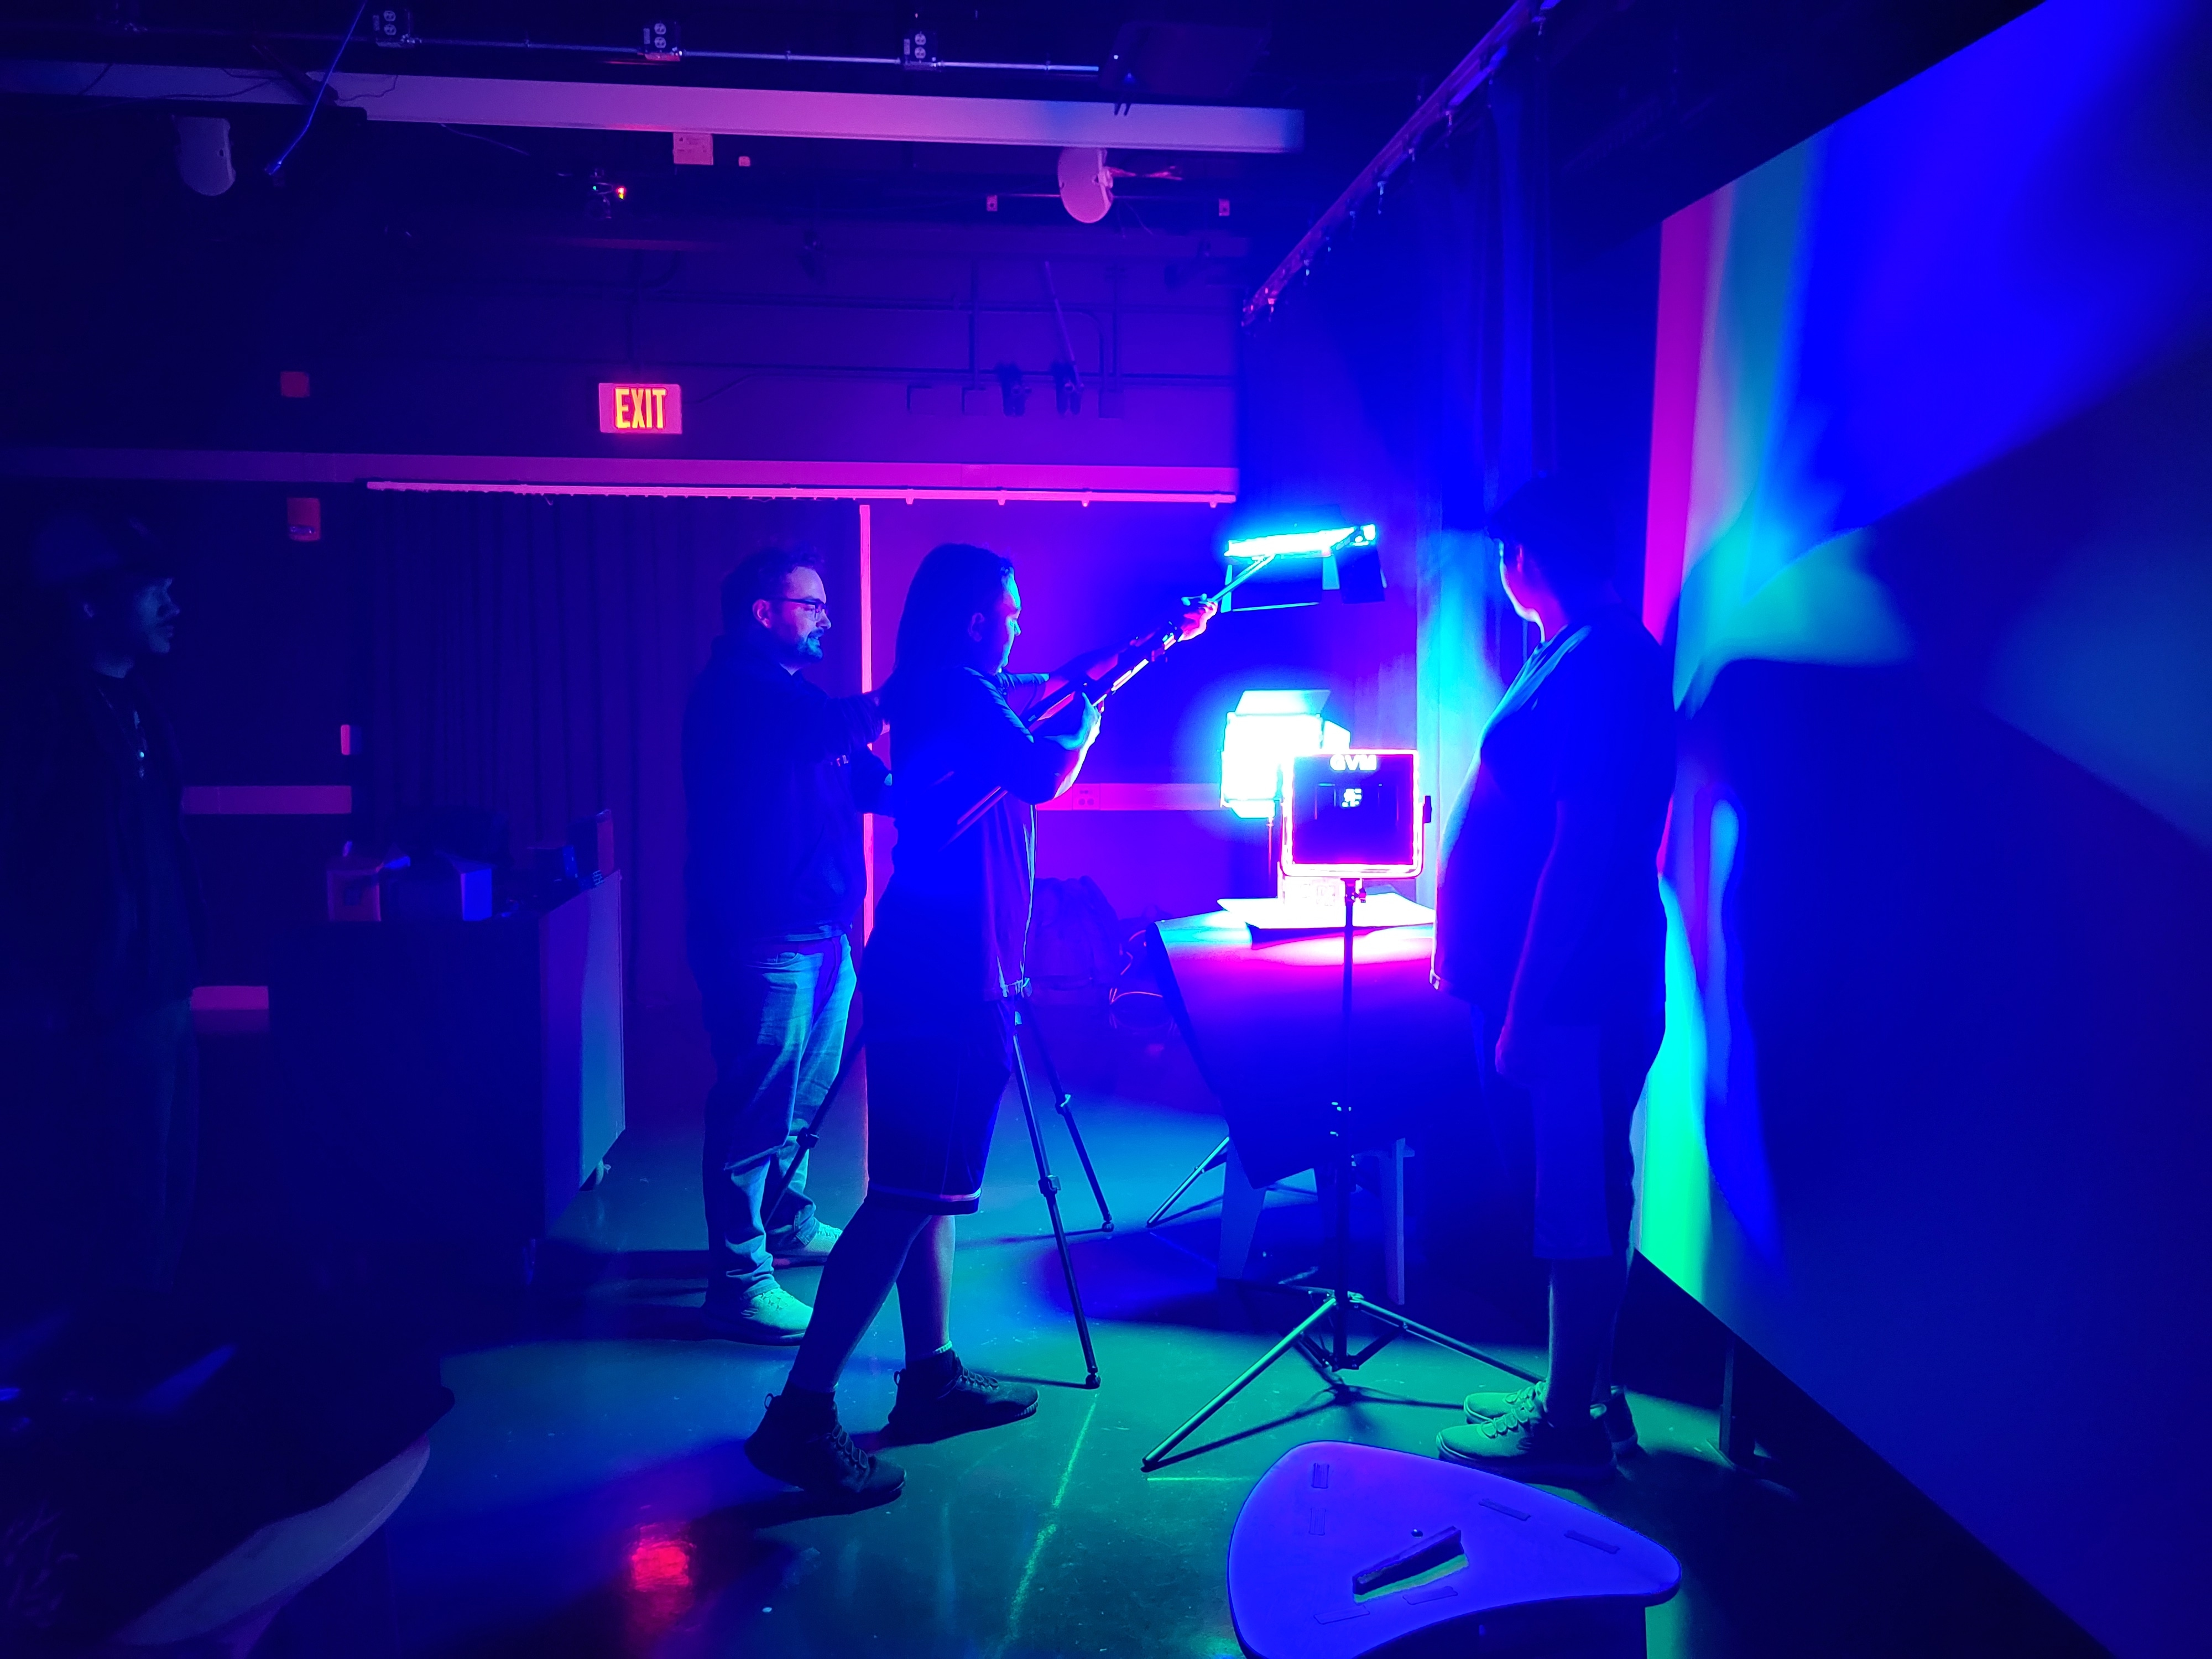
One of the best production photos we were able to get from this shoot. I basically handled shooting the images of the models, and team members Nicholas Hansen, Jada Woods, Logan Jackson, and Joseph Berlin helped with managing lighting so we got all the shots we needed as fast as possible.
Overall, to achieve this effect yourself, you basically just need to have 3 colored lights, one for red, green, and blue. Aim your green light overhead of the object, red on the right, blue on the left.
This, notably, only really works for games working in 2D looking to simulate 3D, but for that niche, it works incredibly well.
GIF demonstrating the final result of how the dynamic lighting looks in engine. Basically, in Unity, you just have to import the normal map photo, convert it to a normal map that Unity can understand, and then bake that into a material for your sprite. When applying this to a project compatible with URP lighting, it results in this really cool lighting effect at a low graphical budget. (Everything you see in this scene is a 2D sprite!)
Comments
Log in with itch.io to leave a comment.
Saw this on LinkedIn, insanely sick!!!